6 Dec 2014

Scheepjes Christmas Blog Hop - Christmas Baubles!

Welcome the my contribution to this wonderful blog hop :-)

Ok so let's start off with a little recap on the beautiful projects we've seen so far!

Sarah from Crafts from the Cwtch started the blog hop with this stunning Knitted Star Motif


Next we visited Kirsten from Haak Maar Raak for a tutorial on making an extremely cute Reindeer Mug Cozy (including fluffy butt....oh you can't beat a fluffy butt!!!)

 
Then off to see Jellina from Jellina-Creations where we were treated to a gorgeous Christmas Tree Garland tutorial.

The following day we were off to visit Atty's blog for a lesson on making some bright and cheerful Christmas Coasters.


Yesterday we popped over to visit Nerissa at Miss Neriss where we were treated to a fabulous tutorial on making a Christmas Wreath.


And that nicely leads us to today!

As this weekend is traditionally the most popular weekend for decorating our Christmas trees I thought it would be cool to make some baubles. Something special that can be used year after year.


Ready to get started? Ok, let us begin!


You will need....

Yarn of choice. This can be small amounts of leftovers so great for stash busting! I've used Scheepjes Cotton 8 in white (502) and pale blue (652)
Crochet hook (mine is 3mm)
Scissors
Bodkin or darning needle
Needle and thread (if you are adding seed beads you need to make sure that your needle will go through the bead!)
Co-ordinating Buttons
Seed Beads (mine were by Gutermann in colour:1005)
Stuffing
Small lengths of ribbon to hang your bauble

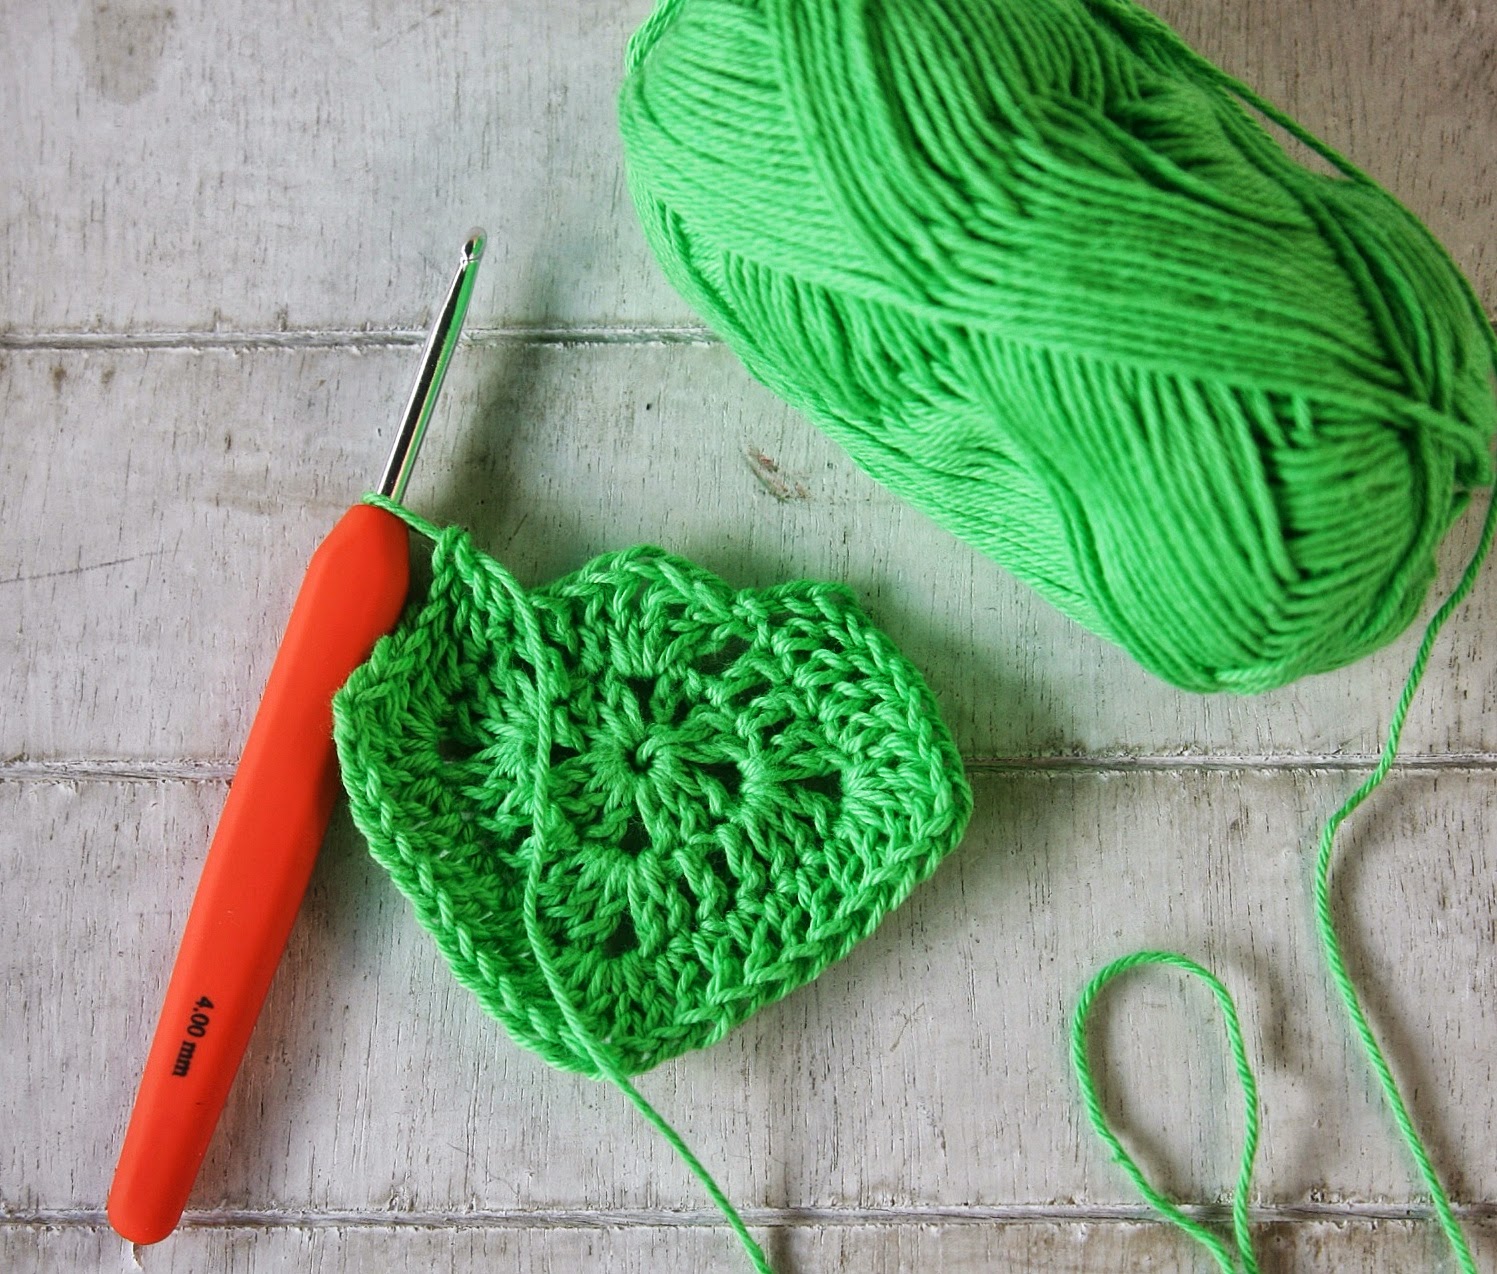
The first step is to make your crochet bauble. There are lots of different free sphere patterns out there on the internet. I found this lovely one. Not only has it got a free PDF download, it also gives you lots and lots of size options. So basically you can make whatever sized bauble that will suit your tree :-)

A word of advice!!!!

When starting on the decrease rows, sometimes you can be left with fairly noticeable holes.
Lalylala has a lovely video tutorial on making an invisible decrease. Give it a go! It really does work!

I would advise starting to stuff your bauble once you've done the first couple of decrease rows. Leaving it to the end will be very tricky and may even cause you to utter some very bad words!!!
Stuff as you hook the decrease rows. That should be your mantra ;-) And remember to stuff firmly. There is nothing worse than a badly stuffed bauble!
Ok, well yes there is....but let's not go there :-)


So now you have your finished bauble :-)
Yes it's fiddly, but isn't it worth it????

This is 14 row sphere. I also made 18 and 22 row ones to decorate.

Basically you can decorate your bauble however you wish :-)
I chose to use buttons on one and seed beads on the other....because I'm a glutton for punishment!

Drag out your button box and choose some buttons that will work with your colour scheme and begin sewing them on. This is a nice activity to do while watching TV. 


I evenly spaced out the buttons I was sewing and didn't worry about it being too uniform. I wanted a rustic appearance hence the different sizes and shapes. I finished by attaching a ribbon.

The seed bead bauble was made by sewing the beads in every little hole made by a double crochet stitch. 


This may sound like a whole heap of sewing but actually, it was very quick! I finished the bauble in about 2 hours whilst watching TV. I love the effect the beads give!


So there you go! Two different baubles to hang on your tree this year and for years to come! You can alter the colours to suit your colour scheme :-)
I suppose I should really put my tree up this weekend to display them!!!

I hope you've enjoyed my little bauble project. Don't forget to pop over and visit Tammy at Canadutch tomorrow! I can't wait to see what she has in store for us. When am I going to find the time to make all of these wonderful projects????

Tomorrow I shall try to explain my prolonged absence from blogland and update on a couple of projects. See you then!
post signature

24 Sept 2014

We have a winner!!!

Evening everyone :-)
Ah it's been a busy busy week! Lot's of hooky and work stuff with a Birthday (mine!) thrown into the mix. I honestly wonder where the days and weeks are going. Can we really be heading into October? Can I really be another year older??? Yikes!!!!
Anyways...I digress ;-)
I'm sure you're all waiting for an announcement!
Sooooooooo.......here we go.
I decided to add in all the comments left on the blog post. 53 in total!
The winning comment number was 50.


This was left by Gwynne.....Lovely and generous giveaway, thank you for the opportunity to enter xx

CONGRATULATIONS GWYNNE!!!!

Can you email me with your full name and postal address @ 50shadesof4ply@gmail.com and I'll get your yarn kit in the post asap :-)


I'm already looking forward to seeing what you make with the gorgeous Cotton 8!

Ah...if only had enough yarn to share with you all!
A huge thank you to all who entered and visited my new Facebook page. I'm very sure I'll have another giveaway in the future so keep checking ;-)

As I said earlier, I've had a busy time on the hooky front. 
I've got 3 large projects on the go at the minute and I really just wanted to make something that was straightforward and quick! I chose 2 things as I couldn't quite make my mind up!!!

 First was the gorgeous Nordic Shawl designed by Annette from My Rose Valley.
I've had this on my "to-do" list ever since I first saw it.


So I delved into my Scheepjeswol Cotton 8 stash and selected some colours!
I haven't got the shade numbers to hand but I'll let you know them when I do the ta-dah! post :-)


Ah....it was a dream to make! Something nice and easy that I could watch a couple of movies along to.


Before I knew it I was adding in the colours!
I love how the paler colours contrast against the deep grey.
I've finished the shawl already. It just needs to be blocked and few photos to be taken.
Weather permitting I should get that done this weekend.

Second project was way out of my usual comfort zone! 
Via a good friend, I was pointed in the direction of this website here!
How cute???? I've never been tempted to try my hand at amigurumi before but boy! once I saw these gorgeous designs I just HAD to make something :-)
I decided on Rita the Rabbit for a first attempt but somehow I ended up buying 3 patterns....how on earth did that happen??? Hehehe!


So this is where I am on the bunny front! Just the joining to do and some finishing touches :-)
I used Scheepjes Stone Washed yarn as I just LOVE the texture it gives and it's also nice and soft to touch. 

Hopefully next time I shall have some finished projects to share and also an update on the Luca project!
Til next time....
post signature

17 Sept 2014

A couple of pretties!

Evening!
Earlier in the year I decided I needed a break from making blankets and looked for something smaller (and quicker) to hook. A quick fix if you like!
I had some yummy yarn and I wanted to make something special with it. Actually I had two lots of yarn. 

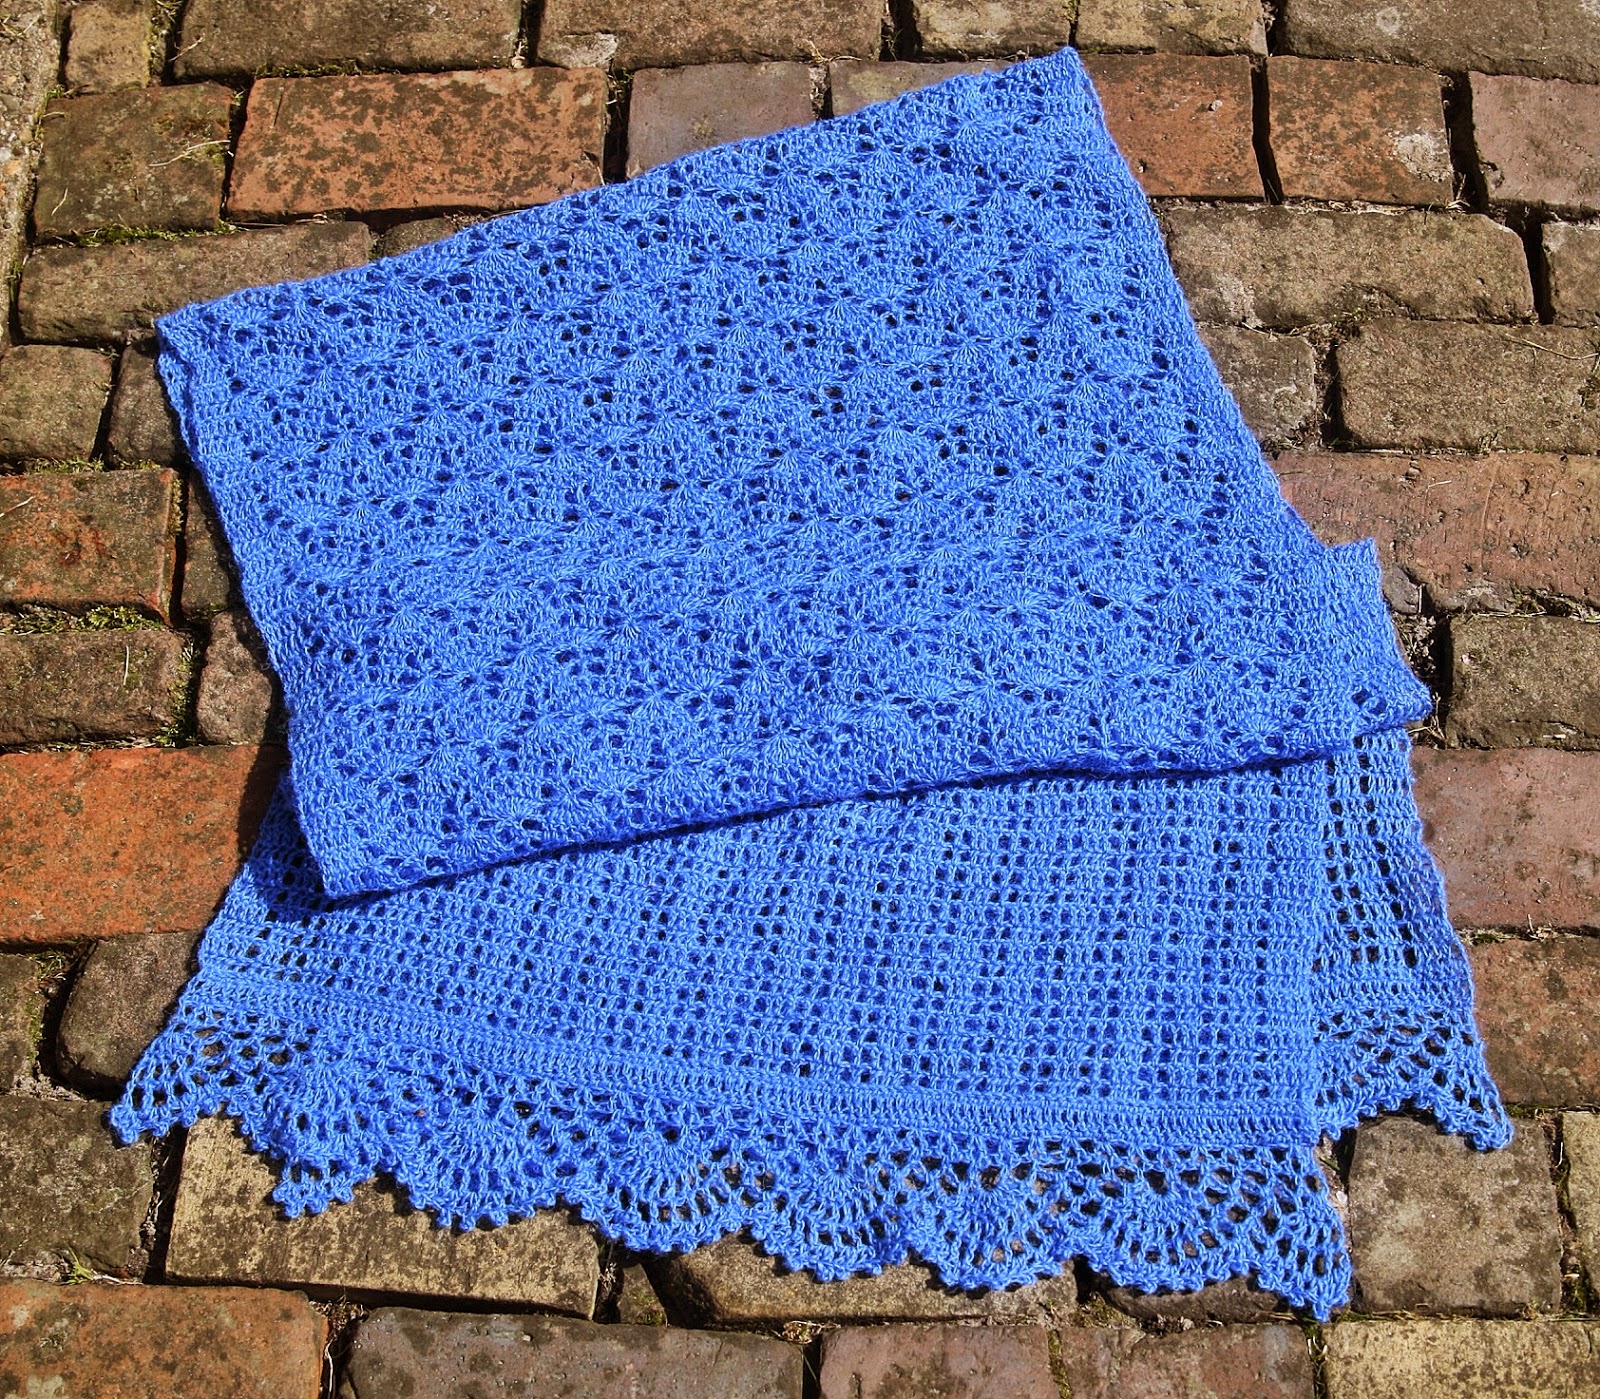
Some delicious Icelandic wool yarn by Lopi. Isn't that colour amazing? Einband is a 4 ply yarn. 250m/50g and it's 100% wool. The colour I used is Vivid Blue - 1098. Pssst.....Deramores have started to stock this yarn ;-)


The yarn I used is the gorgeous Invicta Extra by Scheepjeswol. I just adore this green! It's another 4 ply yarn (210m/50g) and it's a 75% wool 25% polyamide blend. 

I had 3 balls of each yarn. What to make????
Well after much searching of internet I stumbled upon a gorgeous Etsy Shop that sells the most yummy patterns. I chose 2 scarf patterns and set to work!

I decided to make the Izumi pattern with the Einband.


It grew very quickly which was the plan I guess!

And for the Invicta Extra I decided on Silver as the pattern.


Again, it was a breeze to make. Please excuse my non staged pic ;-)
I found the patterns easy to follow and had the hang of the patterns in no time.

So before I knew it, I had 2 blocked lacy scarves ready for some ta-dah photos!
I decided to take them over to Holland with me to take the pics and after an hour or so in a field they were done!

Soooooo......I give you the finished items!

Firstly the Vivid Blue Einband Scarf.


Beautifully modelled by Lady May ;-) You can see it's a lovely length.


I love how the pattern varies on this scarf.


Oh and that lacy edge is just lovely!


I'm very happy with the finished effect.

And now the Green Invicta Extra...


Stunning isn't it?


I foresee me wearing this all winter!


It's got to be one of my favourite colours and looks amazing with jeans!


Cute little picots finish off the edge!


I'm very happy with them both!
Hope you like them too.

I hope to have a Luca update at the weekend. Best get hooking then!
Til then....
post signature

14 Sept 2014

New Project = New Yarn

Yes! I have some new yarn to show this evening ;-)
Firstly can I say a HUGE WELCOME to all the new visitors to my blog! It's lovely to have you join me and I hope you'll find lots of inspiration here.
OK...back to the yarn!
So! The Quilt Inspired Blanket (must think of a better name for it than that!) is all finished. What to make next? Of course I shall be joining in on the Scheepjes CAL. But me being me, I need a few projects to have on the go ;-)
Something to snuggle up with during the winter months that are heading our way far too early for my liking! A big snuggle blanket that is hard wearing and can be thrown in the washing machine without too much stress....oh and something not too costly to make as I've just had to replace the shower AND the TV :-( 
I think this might just fit the bill nicely!

By Scheepjeswol it's called Luca. A 70% Premium Acrylic 30% Wool blend that is a good weight. 100g = 180m. Recommended hook size is 5 - 5.5mm. I'll probably end up using a 6mm hook!


It has a sheen to it that replicates much more costly yarns that include silk.


As usual with Scheepjes, it's available in a glorious array of colour choices. Most important in my book! I've chosen 6 for my blanket. 
I've made a start already and will update you all on progress very soon.
In the meantime, don't forget the Quilt Inspired Blanket yarn kit giveaway! You can find all the details here
I'm hoping to show you my finished lacy scarf creations during the week. 
Hope you can join me :-)
post signature

10 Sept 2014

GIVEAWAY!!!!

Oooooh!!!! Don't we all just love a giveaway? I have in my hands, thanks to the lovely folks at Scheepjeswol, a yarn kit with more than enough yarn to complete my Quilt Inspired Blanket!

So what's in the kit???


The yarn kit consists of Scheepjeswol Cotton 8 in the following colours and amounts:

Red - 510 (50g)
Burnt Orange - 671 (50g)
Orange - 716 (50g)
Yellow - 714 (50g)
Light Green - 642 (50g)
Bright Green - 517 (50g)
Light Blue - 622 (50g)
Dark Blue - 563 (50g)
Purple - 661 (50g)
White - 502 (500g)
Black (not pictured) - 515 (100g)

So that's 21 balls of gorgeous 100% cotton yarn! 

THE RULES!

Hahaha! Well I am going to make you work a little ;-)
This giveaway is open to everyone. No restrictions on where you live!

In order to be in with a chance of winning you need to pop over to my newly launched Facebook page, like the page and leave a comment on the link to this post (sharing would be good too!) and then pop over to the Scheepjeswol page and like and share there too. Leave a comment on this post when you're done and that's it! 

So just to clarify....

1. Pop over my FB page....here. Like the page, leave a comment on the link to this post.
2. Pop over to the Scheepjeswol page.....here. Like and share the giveaway post.
3. Leave a comment on this post.

I'll draw a lucky winner (using one of those random draw thingys) 2 weeks today which is 24th September!
Good luck everyone!!!
post signature

7 Sept 2014

Quilt Inspired Blanket Tutorial!

As promised, today I'm going to share the making process of my Quilt Inspired Blanket! 
If you can remember, it all started when I saw this photo on Pinterest.

My mind immediately started whirring and working out how I could translate this stunning piece of work into a crochet project. The simplest way, I thought, was to opt for a closed granny square. Sooooo.....if you're new to crochet and have mastered trebles and chains you can make this! It really is that easy :-)

So go grab a drink, settle yourself comfortably and let's get started!

For my blanket I used Cotton 8 from Scheepjeswol. It's 100% cotton and sport weight so not heavy at all. Always important when making a blanket! Plus it can thrown in the washing machine when needed. 

Ingredients


You will need:
Crochet hook - I used a size 4mm hook not 3.5mm as stated in my previous post (sorry!)
Scissors
Yarn as detailed below: 

Red - 510 (50g)
Burnt Orange - 671 (50g)
Orange - 716 (50g)
Yellow - 714 (50g)
Light Green - 642 (50g)
Bright Green - 517 (50g)
Light Blue - 622 (50g)
Dark Blue - 563 (50g)
Purple - 661 (50g)
White - 502 (450g)
Black - 515 (100g)

The quantities I've stated will be more than enough to make the blanket and you'll have some spare left over! I've written the pattern in English crochet terms. 


To start chain 4 and join with a slip stitch in the 4th chain from hook. Alternatively you can make a magic circle.


Round 1. Chain 3 (counts as first treble), 2 trebles into the circle you've formed with the chain, chain 1, 3 trebles into circle, chain 1, 3 trebles, chain 1, 3 trebles and finish with another chin 1. Join into the 3rd chain of the first stitch. You should end up with a teeny square as above.


Round 2. Chain 3 (counts as first treble). Into the top of the treble stitches rather than the spaces,  treble into next 2 stitches. To make the corner (same on each round) into the chain space created in the last round treble 2, chain 1, treble 2. Treble into the next 3 stitches. Make a corner and repeat until you have reached the first stitch. Slip stitch into the third chain to join. This is the pattern. Easy huh? Basically each round is being increased by the corner stitches. 


So on the third round you will have 7 trebles on the straight edge and 4 in each corner chain space. On the fourth round 11 trebles, the fifth is 15 trebles and the sixth you will have 19 trebles on the straight edge. There are always 4 trebles in each corner space. If you remember that each straight edge will increase by 4 trebles on each round you will to able to keep check on your stitch count. 


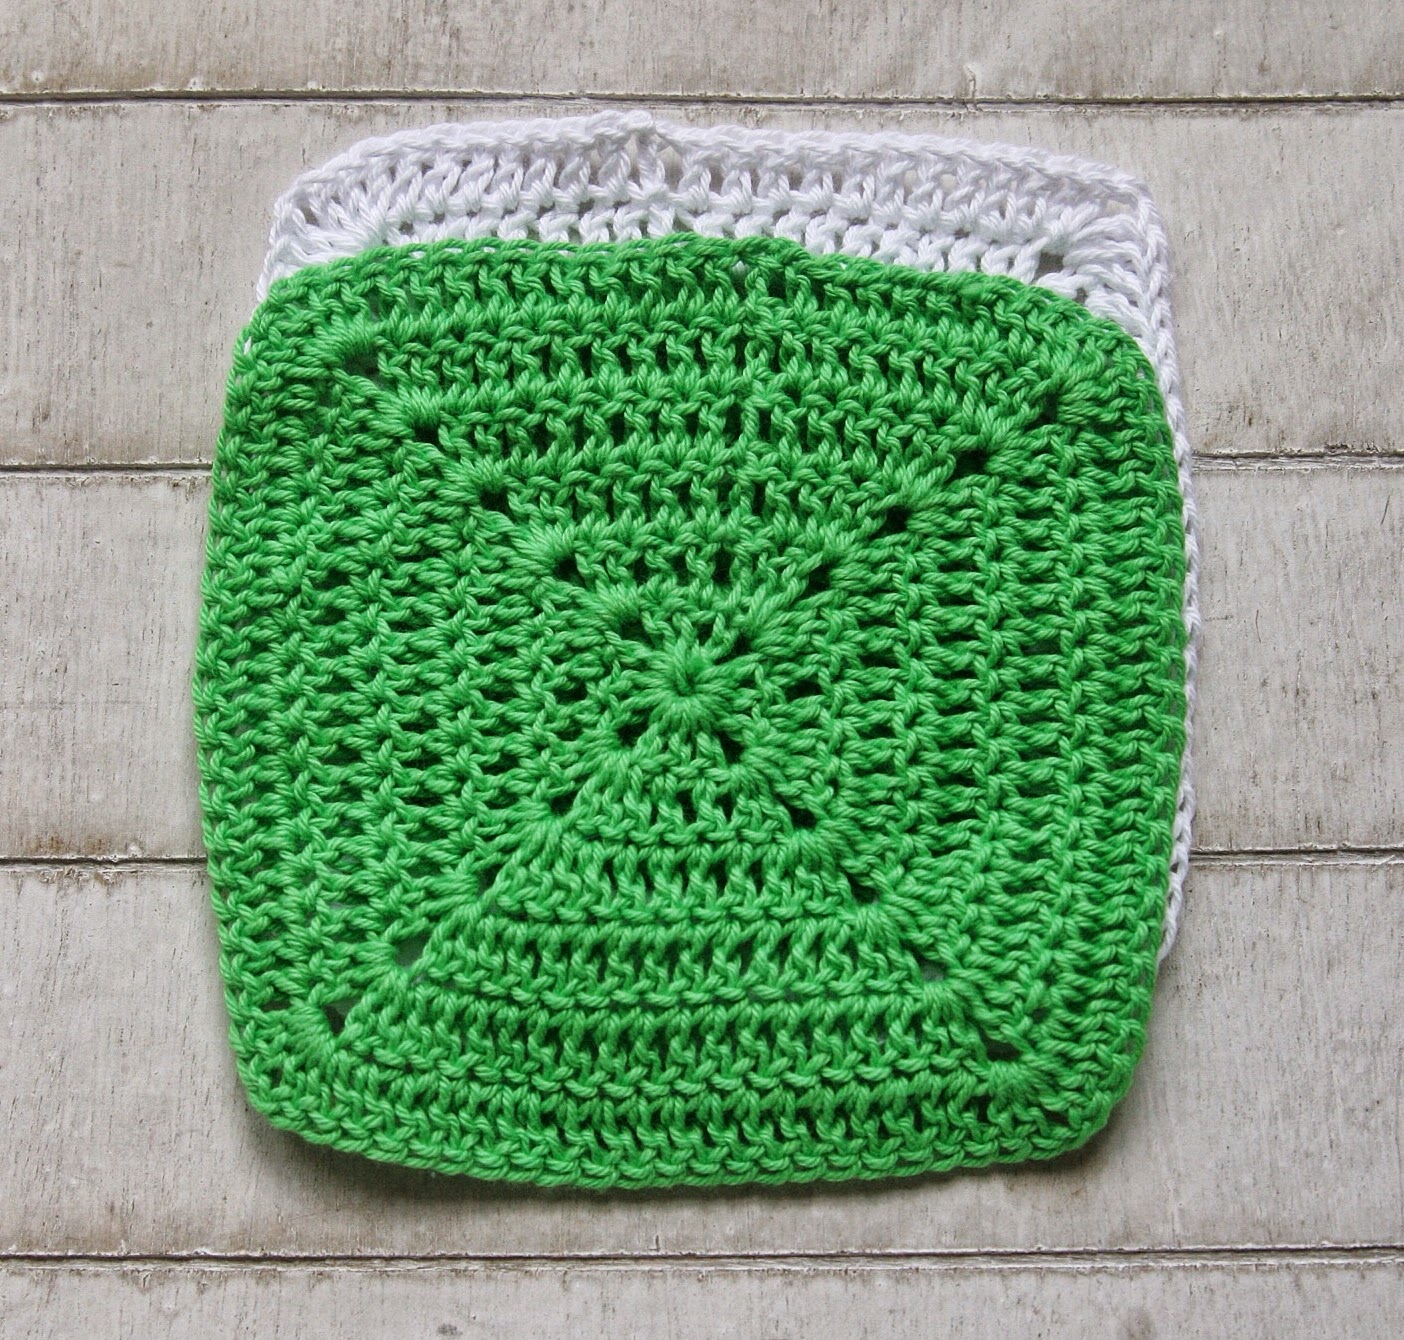
Each finished block is made up of 6 rounds. The pattern on the blanket is simply made by changing colour! Your finished block should look something like this.

For each row you will make:

2 blocks with 2 rounds of coloured yarn and 4 rounds of white
2 blocks with 4 rounds of coloured yarn and 2 rounds of white
1 block with 6 rounds of coloured yarn
2 blocks with 6 rounds of white

The placement is the same as the photo of the quilt.


For this tutorial I've just made up 3 blocks to show you how to join them. Please note, these squares have not been blocked! (lazy me!!!)

A little word on blocking! Whilst this yarn is a delight to work with, it improves enormously by blocking. The feel and drape is completely changed after a good old block. I tend to block as I go. 


Once your squares have been blocked, you're now ready to join. It's really nice and easy!


Place the right sides together.


Now simply double crochet into each opposite stitch, securing in the corner chain space.


The back will look something like this. 


And this is the front. It lies nice and flat. Tie in your tails and now it's time to make that funky border!!!

I really wanted to replicate the vertical stripes of the quilt, but didn't know how. Cue a google search and I found a gem of a tutorial on good old YouTube!

There are instructions for both Right Handed Hookers and also one for those of us who are Left Handed. 

It's to make a checker board effect (drafts for English folk!!!) but we are only going to make the stripes. I did 4 trebles in each of the black and white. I had to fudge it a little for the corners, so some stripes are only 3 stitches wide but you can't really tell ;-)


My border is 4 rows deep. For the start of the corners I made sure that I started in either black or white in the chain space, 2 trebles - chain 1 - 2 trebles. The same as the blocks. Follow the pattern on for each row.


You can see the corners more clearly in this photo. 

And that's it!!! 


I hope my instructions are nice and clear for you. If you have any questions, pop them in the comments box and I shall try and answer them :-)

Fancy making this blanket???? Well check back on Wednesday as I have a Cotton 8 kit to give away to one lucky reader :-)

Before I go..... have you seen this????


How exciting???? Check out the Scheepjeswol Facebook Page tomorrow for more information!
I don't know about you, but I'm swooning at those colours!!!

Til Wednesday ;-)
post signature
TEMPLATE DESIGNED BY PRETTYWILDTHINGS